 Español
 English
Managers or Administrators

In this tutorial we'll look at how to create and manage Managers (Administrators) for your venue. Managers let you assign this role to a user and grant them permission to manage your venue’s information. The feature is designed so that your staff—such as supervisors, managers—or the marketing or web agencies you work with can help keep your venue’s information and food offering up to date.
As usual, first sign in to ConMenu’s Admin panel using an account with the Owner role.
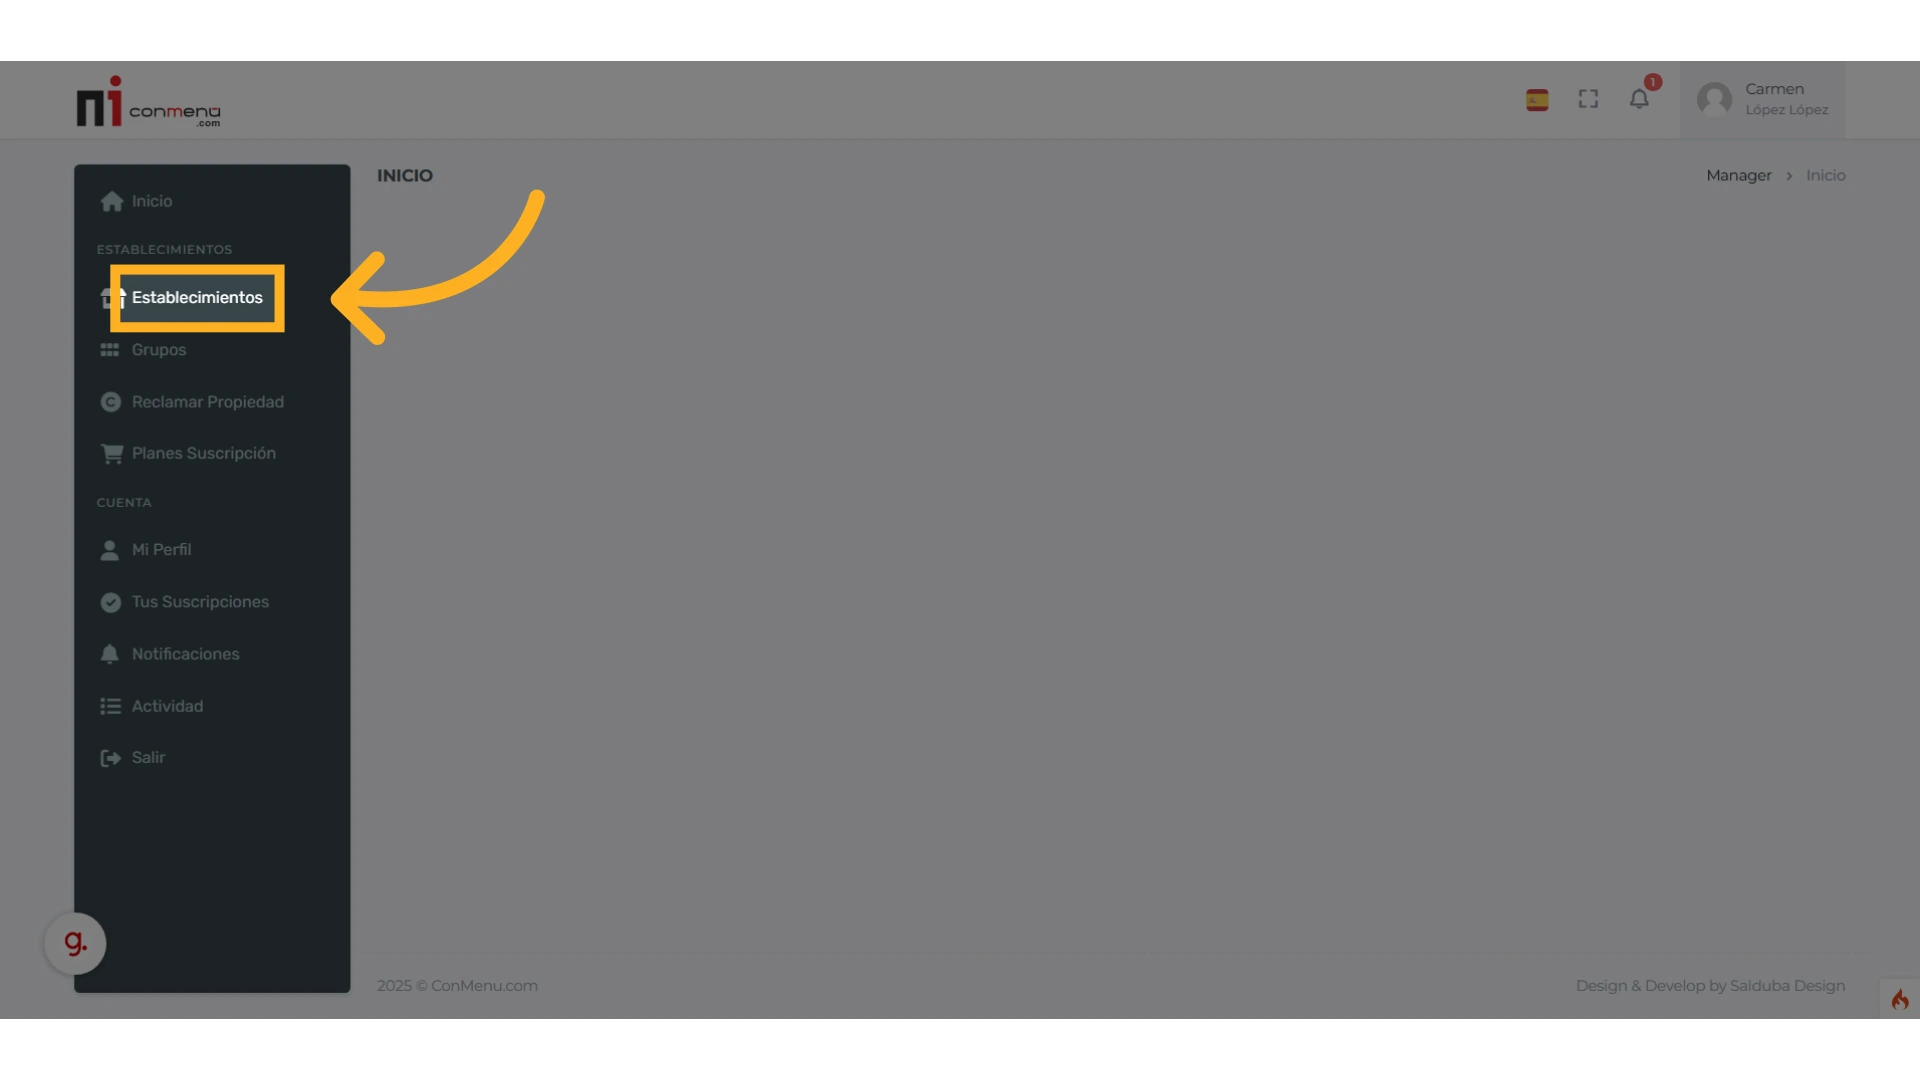
In the ConMenu Admin go to the “Venues” menu and pick the desired venue.
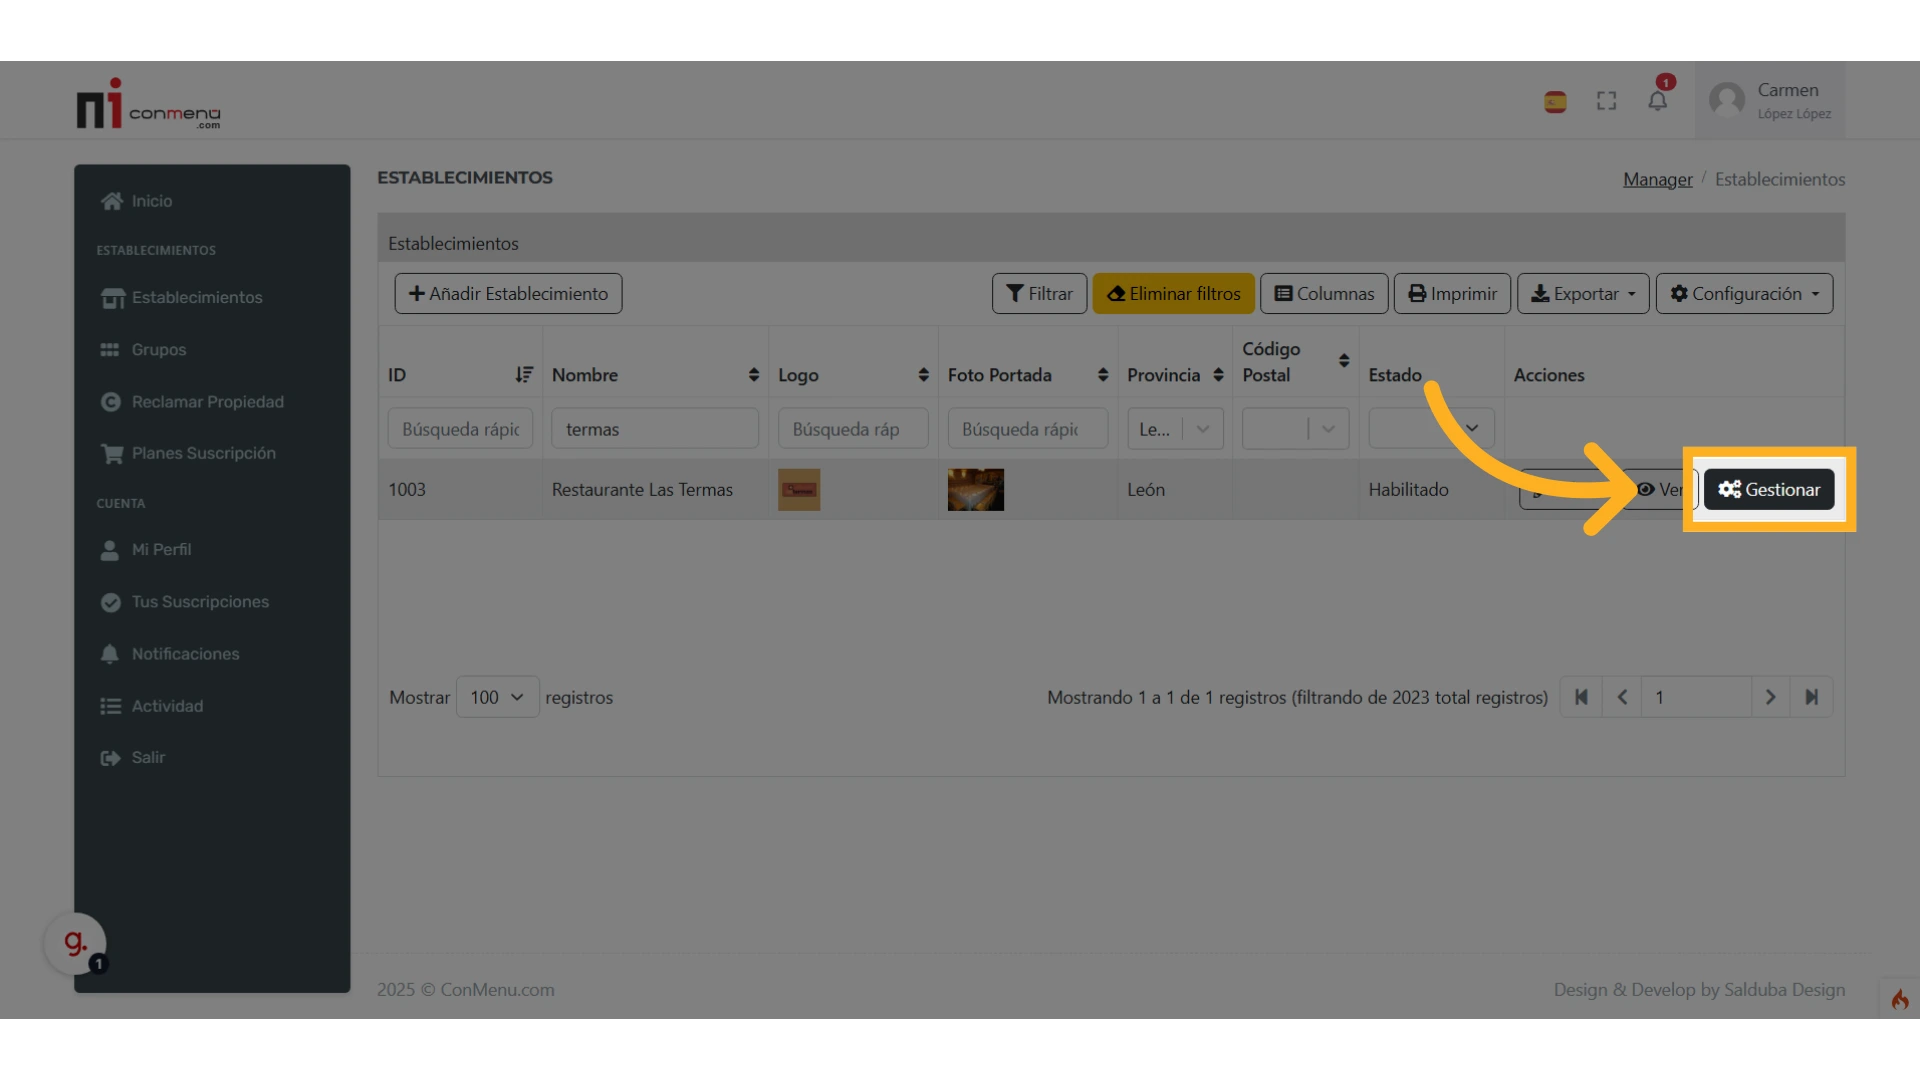
Click the “Manage” button for that venue.
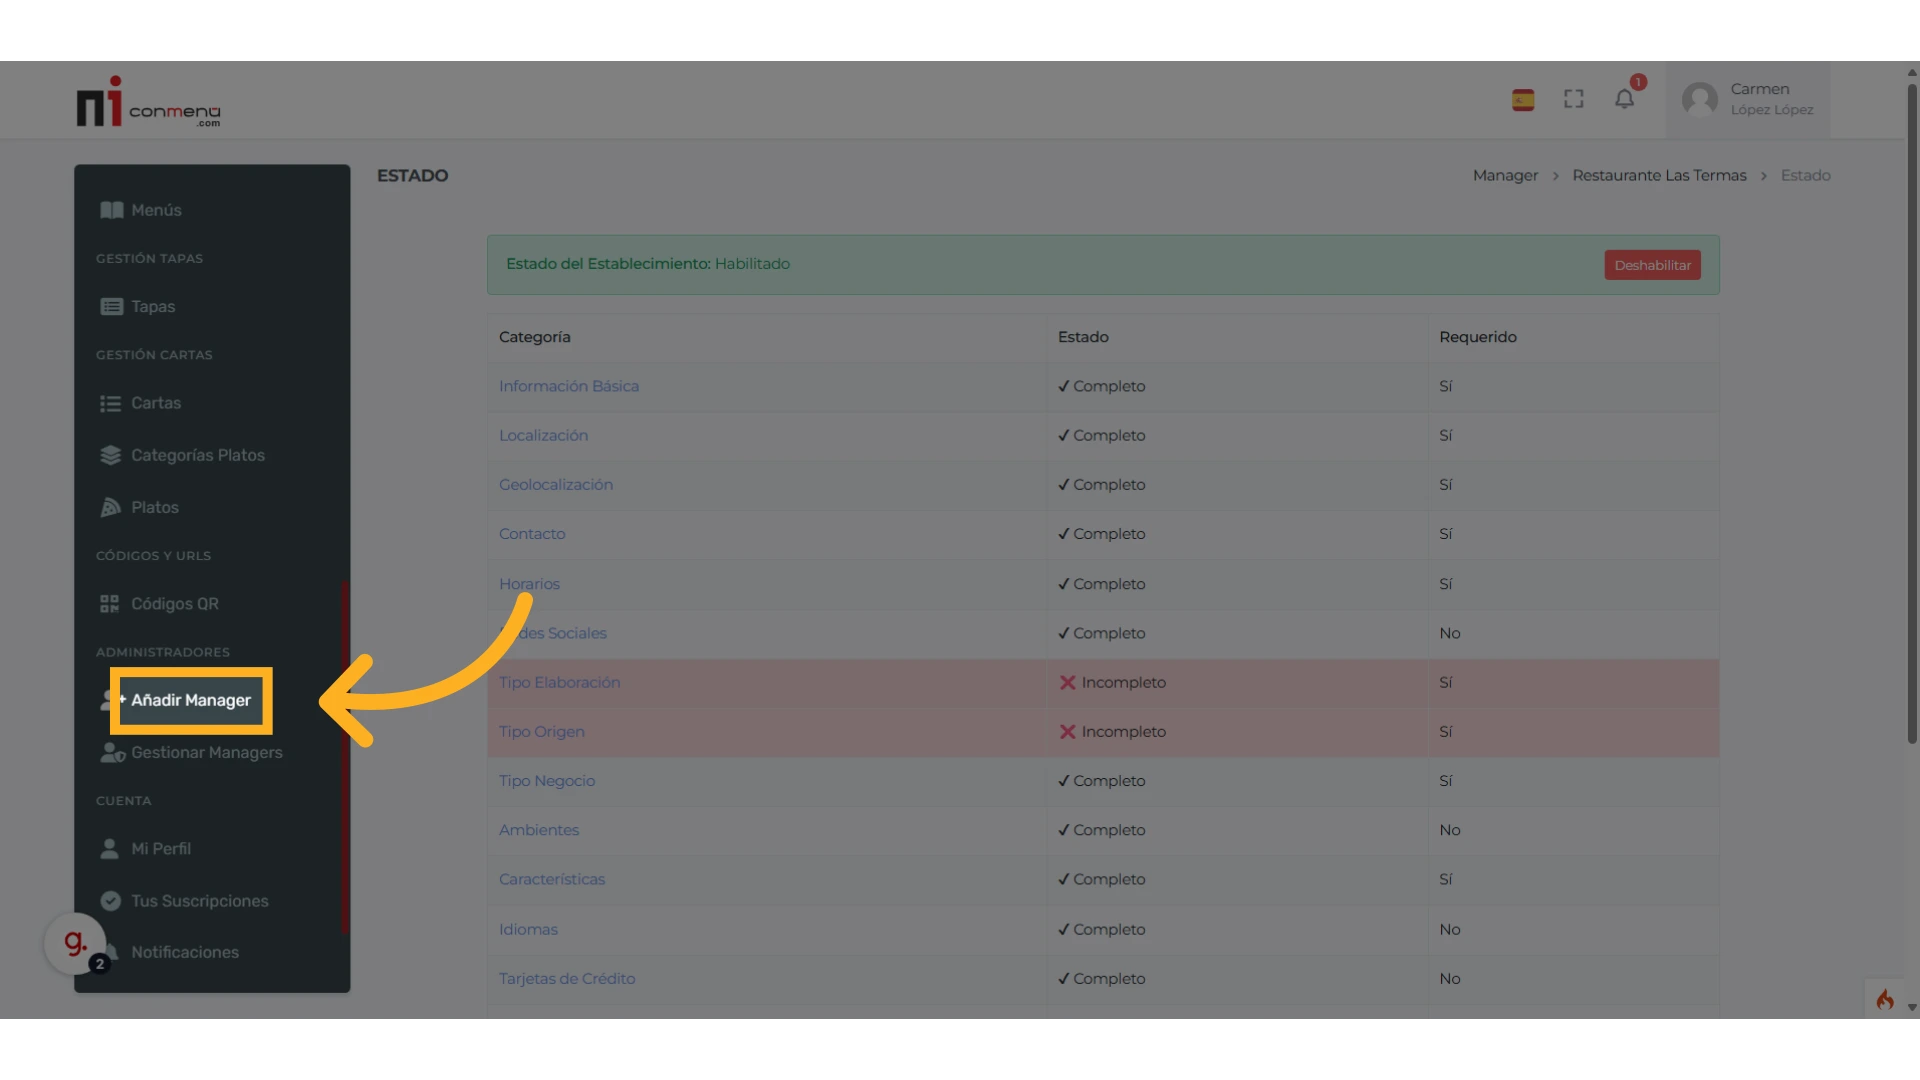
Open the “Add Manager” menu in the Administrators section.
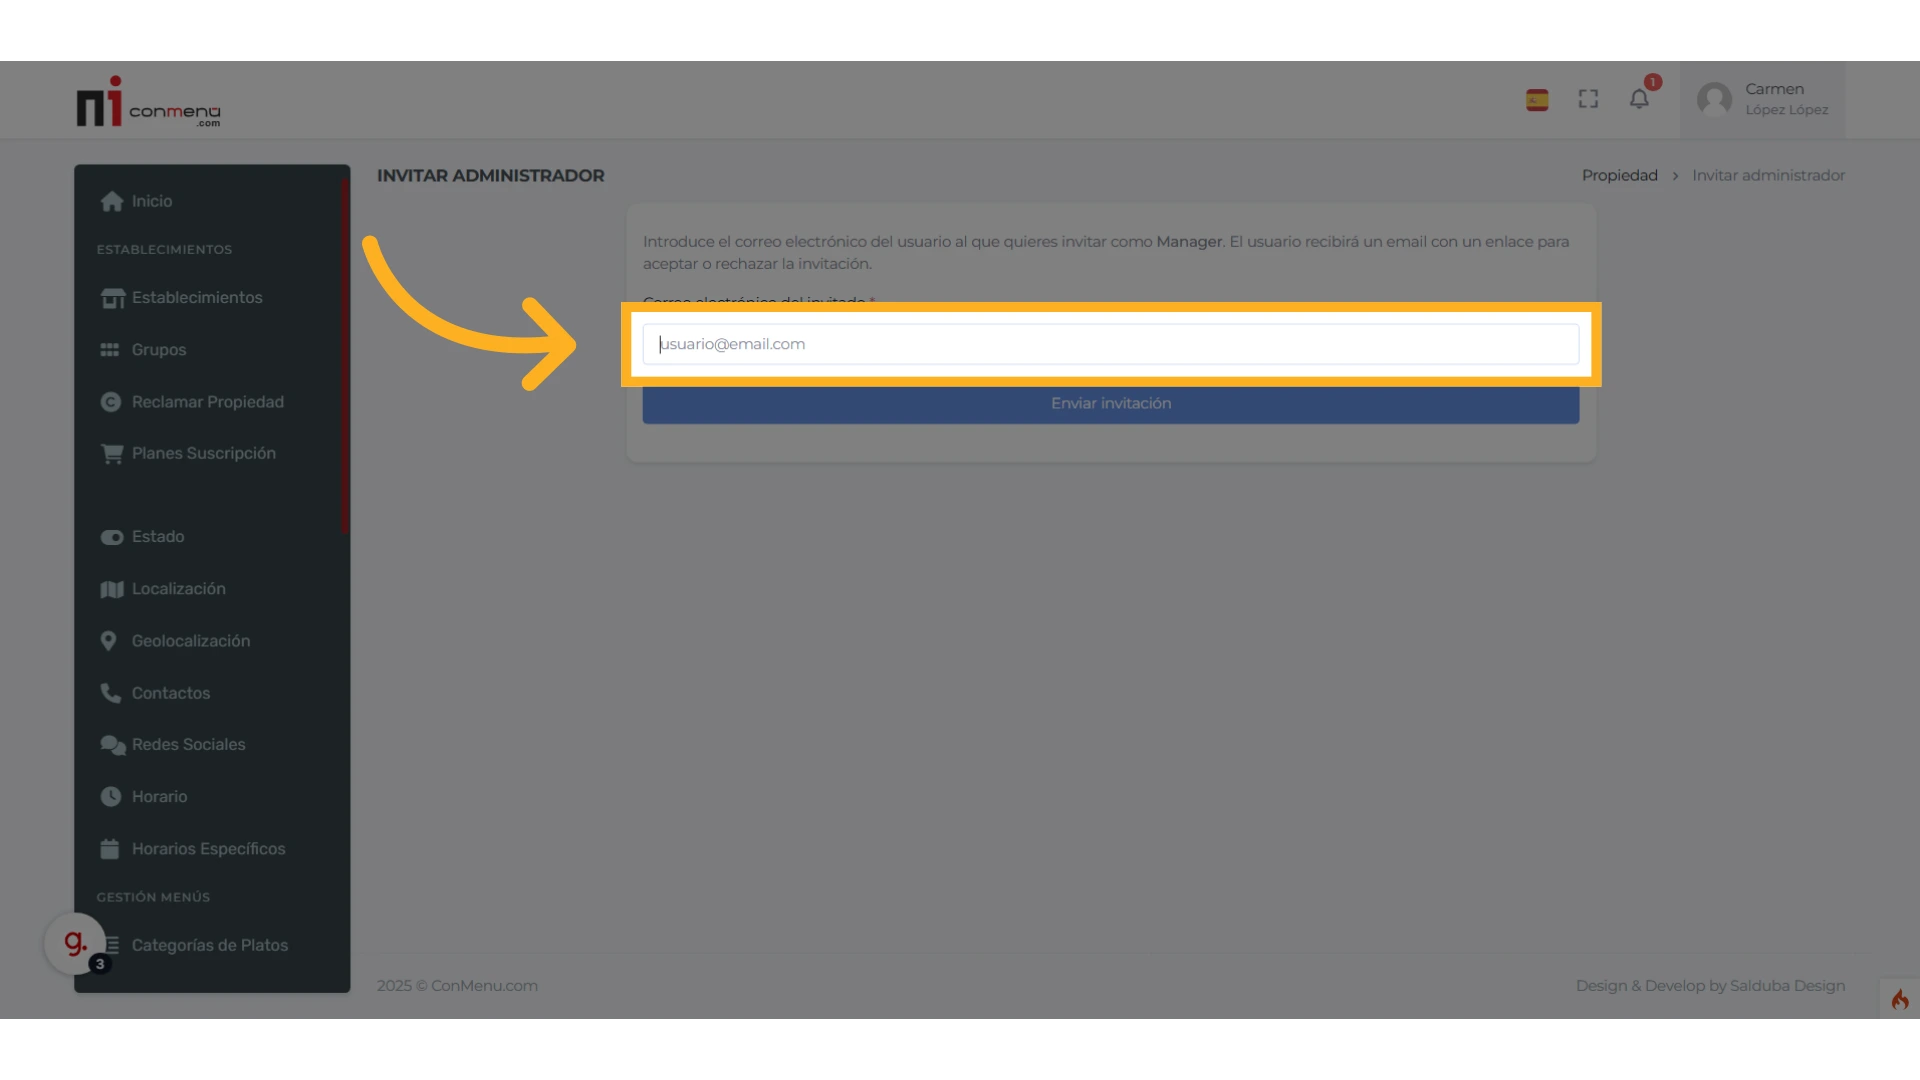
Simply enter the email address of the user you want to invite as a Manager for this venue. The email must match the user’s ConMenu account and the user must already be registered. You can add one or several Managers to each venue.

Click “Send Invitation.” If the email belongs to an existing ConMenu user, the system will send them an email with your invitation and instructions to accept (or decline) manager access.
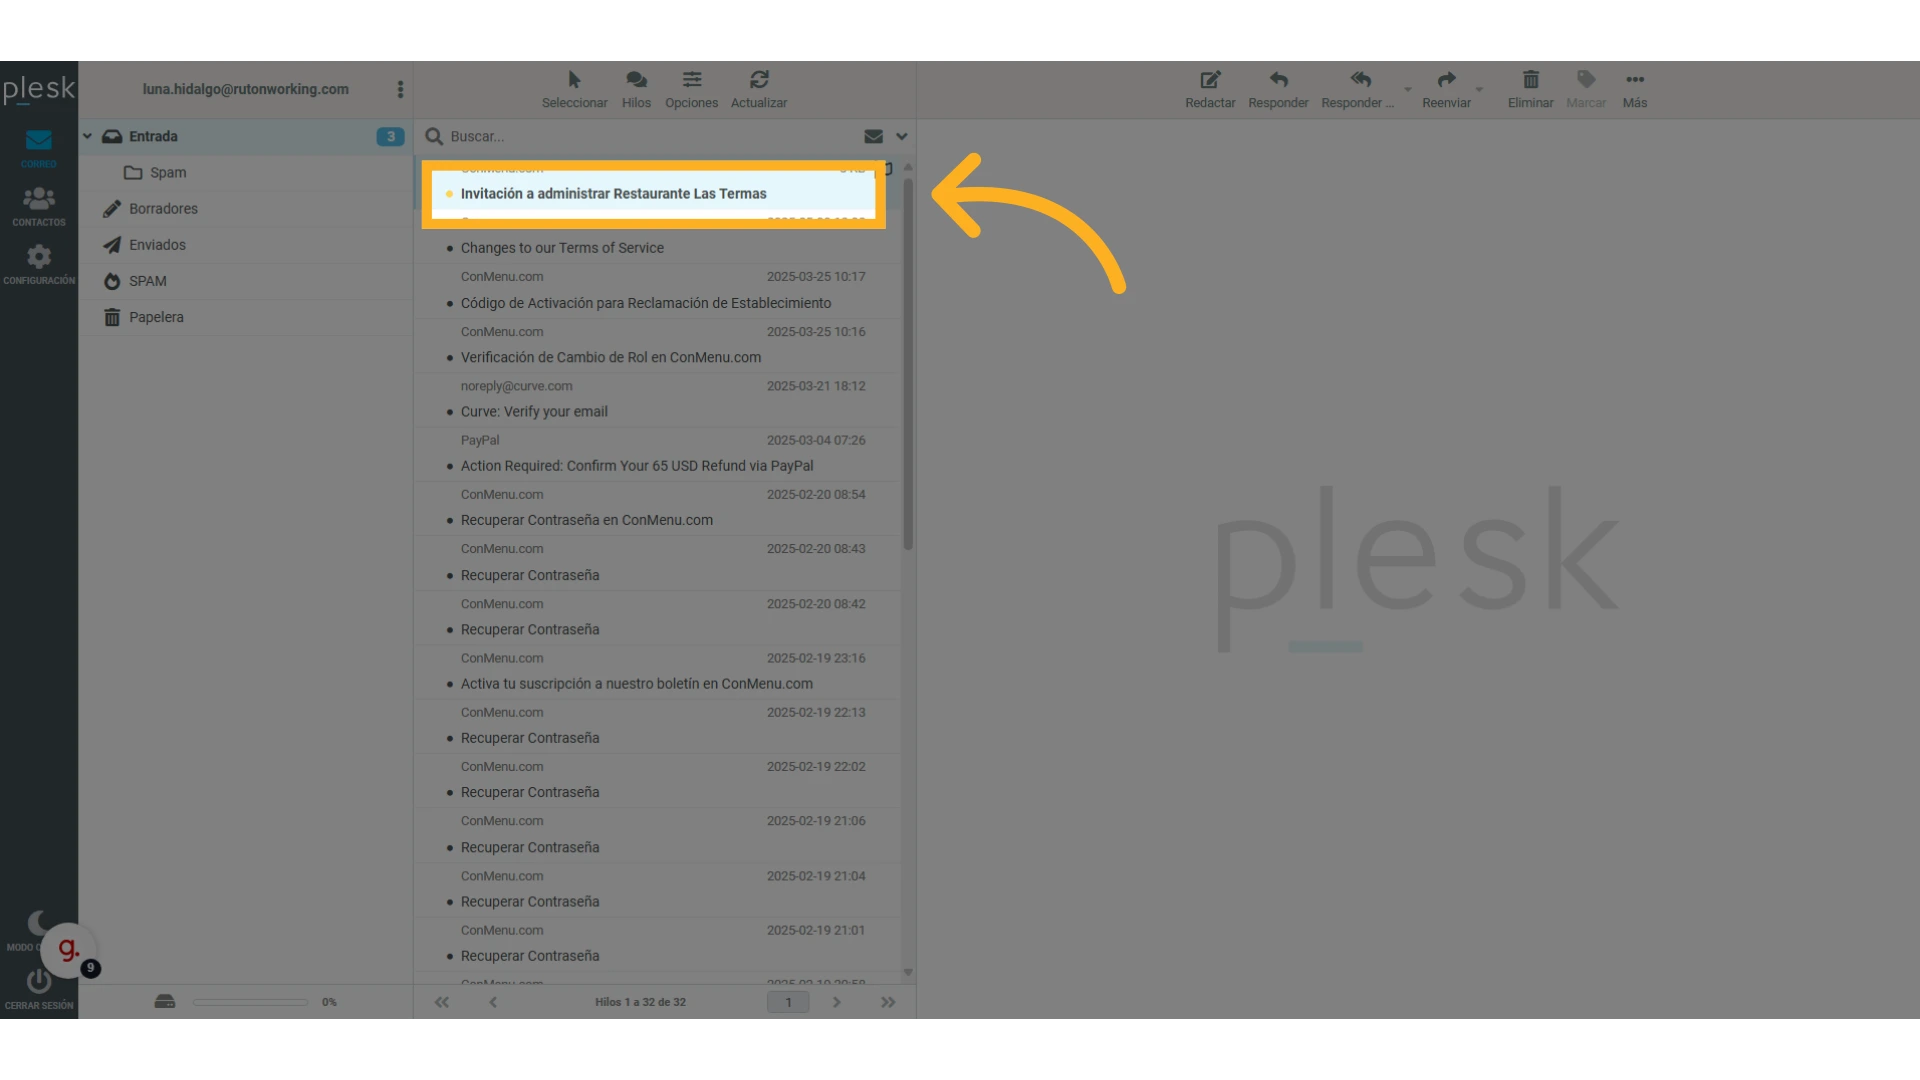
As mentioned, the person you invited will get an email from ConMenu telling them you invited them to manage the selected venue.

8
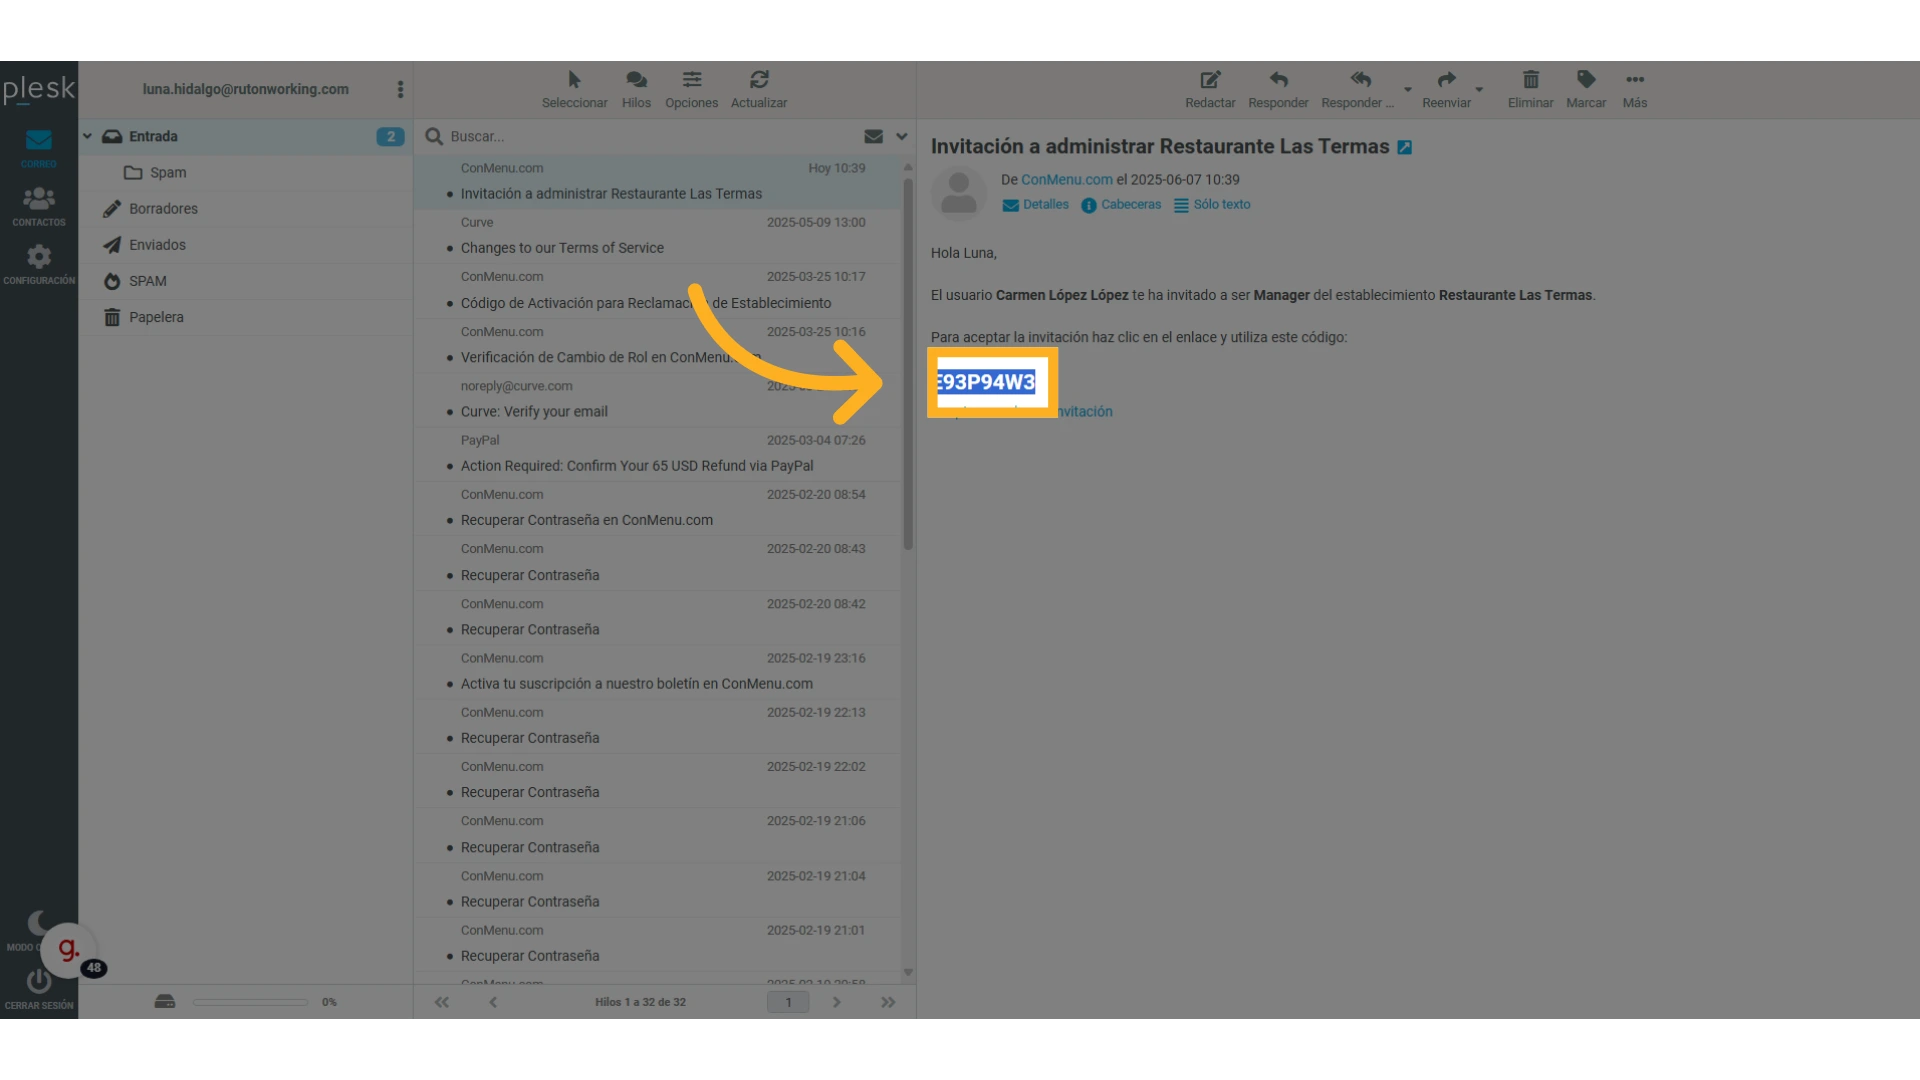
The email contains an activation code that the user will later enter to accept the invitation. They should write it down or copy it to paste in the following step.

The invited person must click the “Accept or decline invitation” link in the email. For security they must be signed in to ConMenu; otherwise they will see an access-denied message. In that case they just need to log in and click the link again.
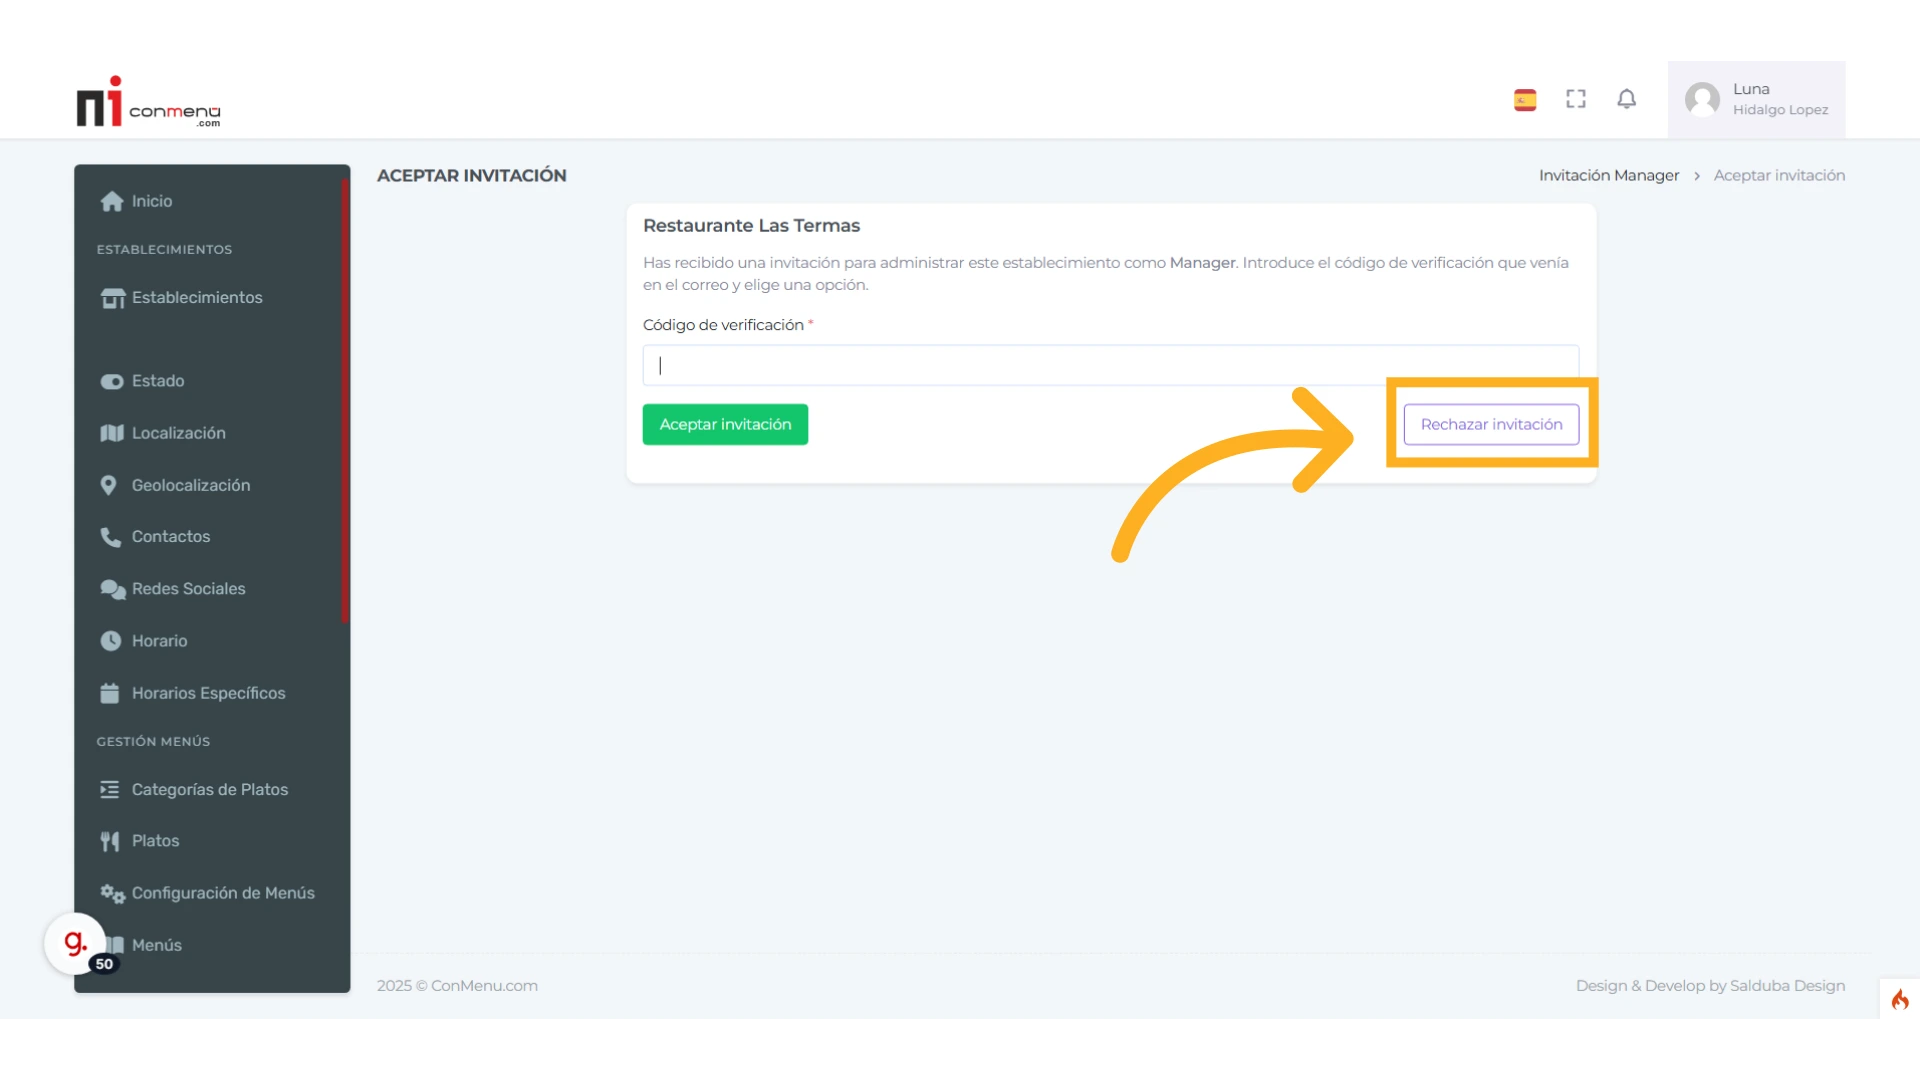
On the invitation page, and in compliance with European and Spanish information-services and data-protection regulations, the user can decline the invitation for any reason by clicking the “Decline Invitation” button.
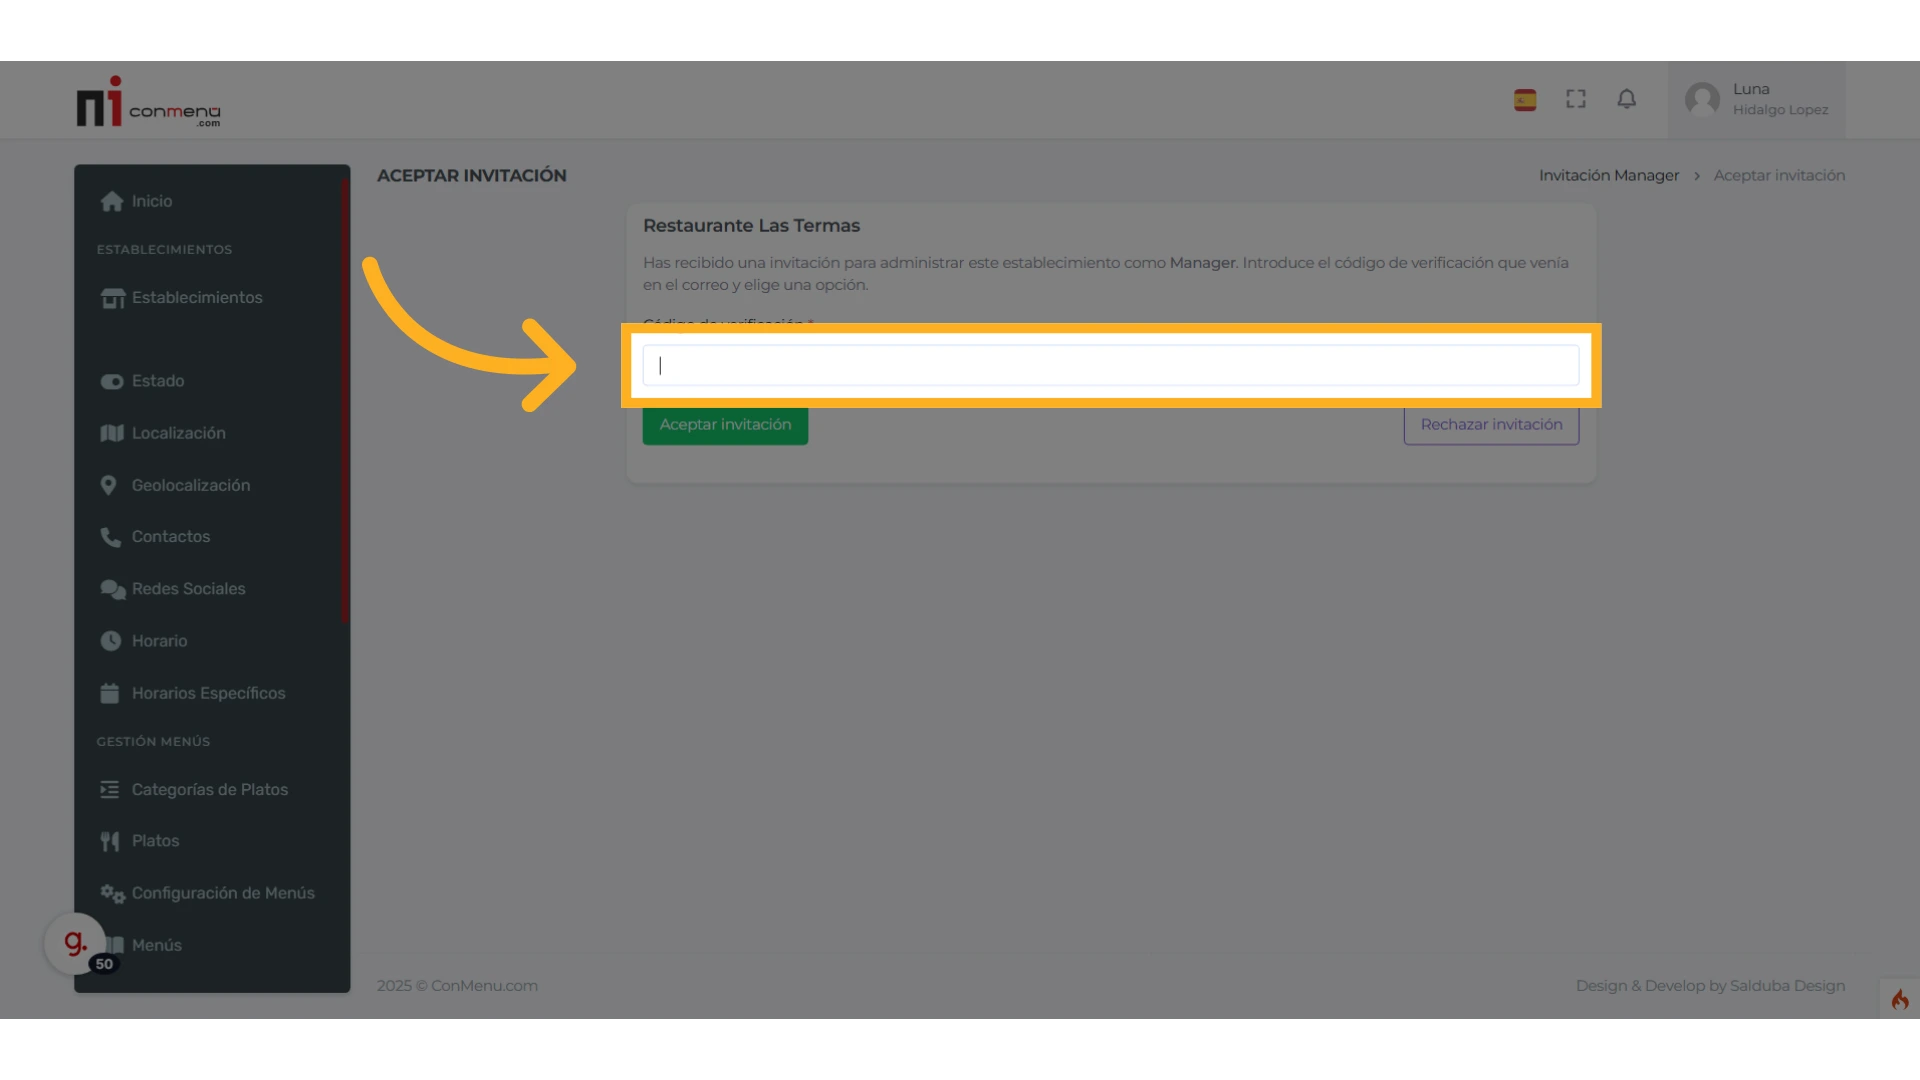
To accept the invitation and become a Manager (Administrator) of the venue, they need to enter or paste the verification code received by email, as shown earlier.
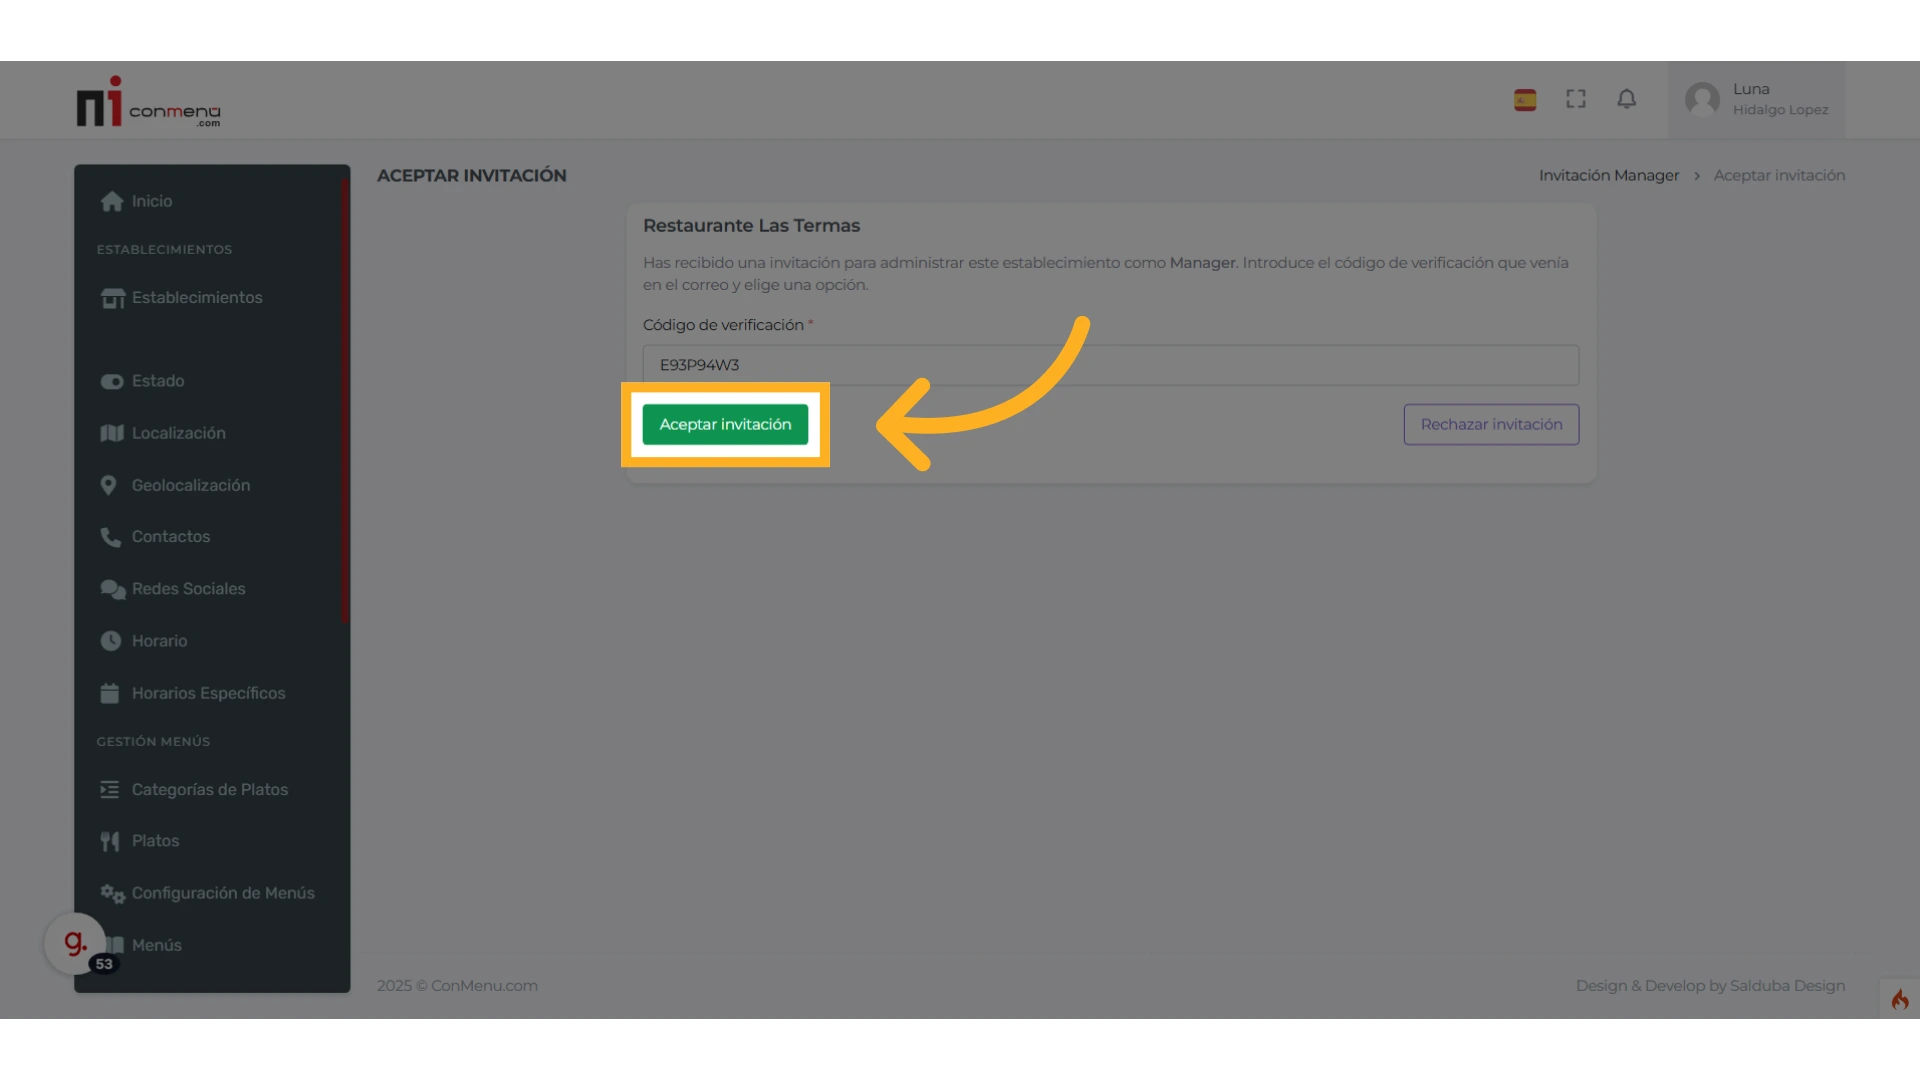
Finally, they press the “Accept Invitation” button. If the code is correct they will receive the Manager role in ConMenu. If they already were a Manager of other venues, that role remains unchanged. A user can also be an Owner of some venues and a Manager of others; in that case their Owner role is preserved.

The user will now have access to the “Venues” menu.
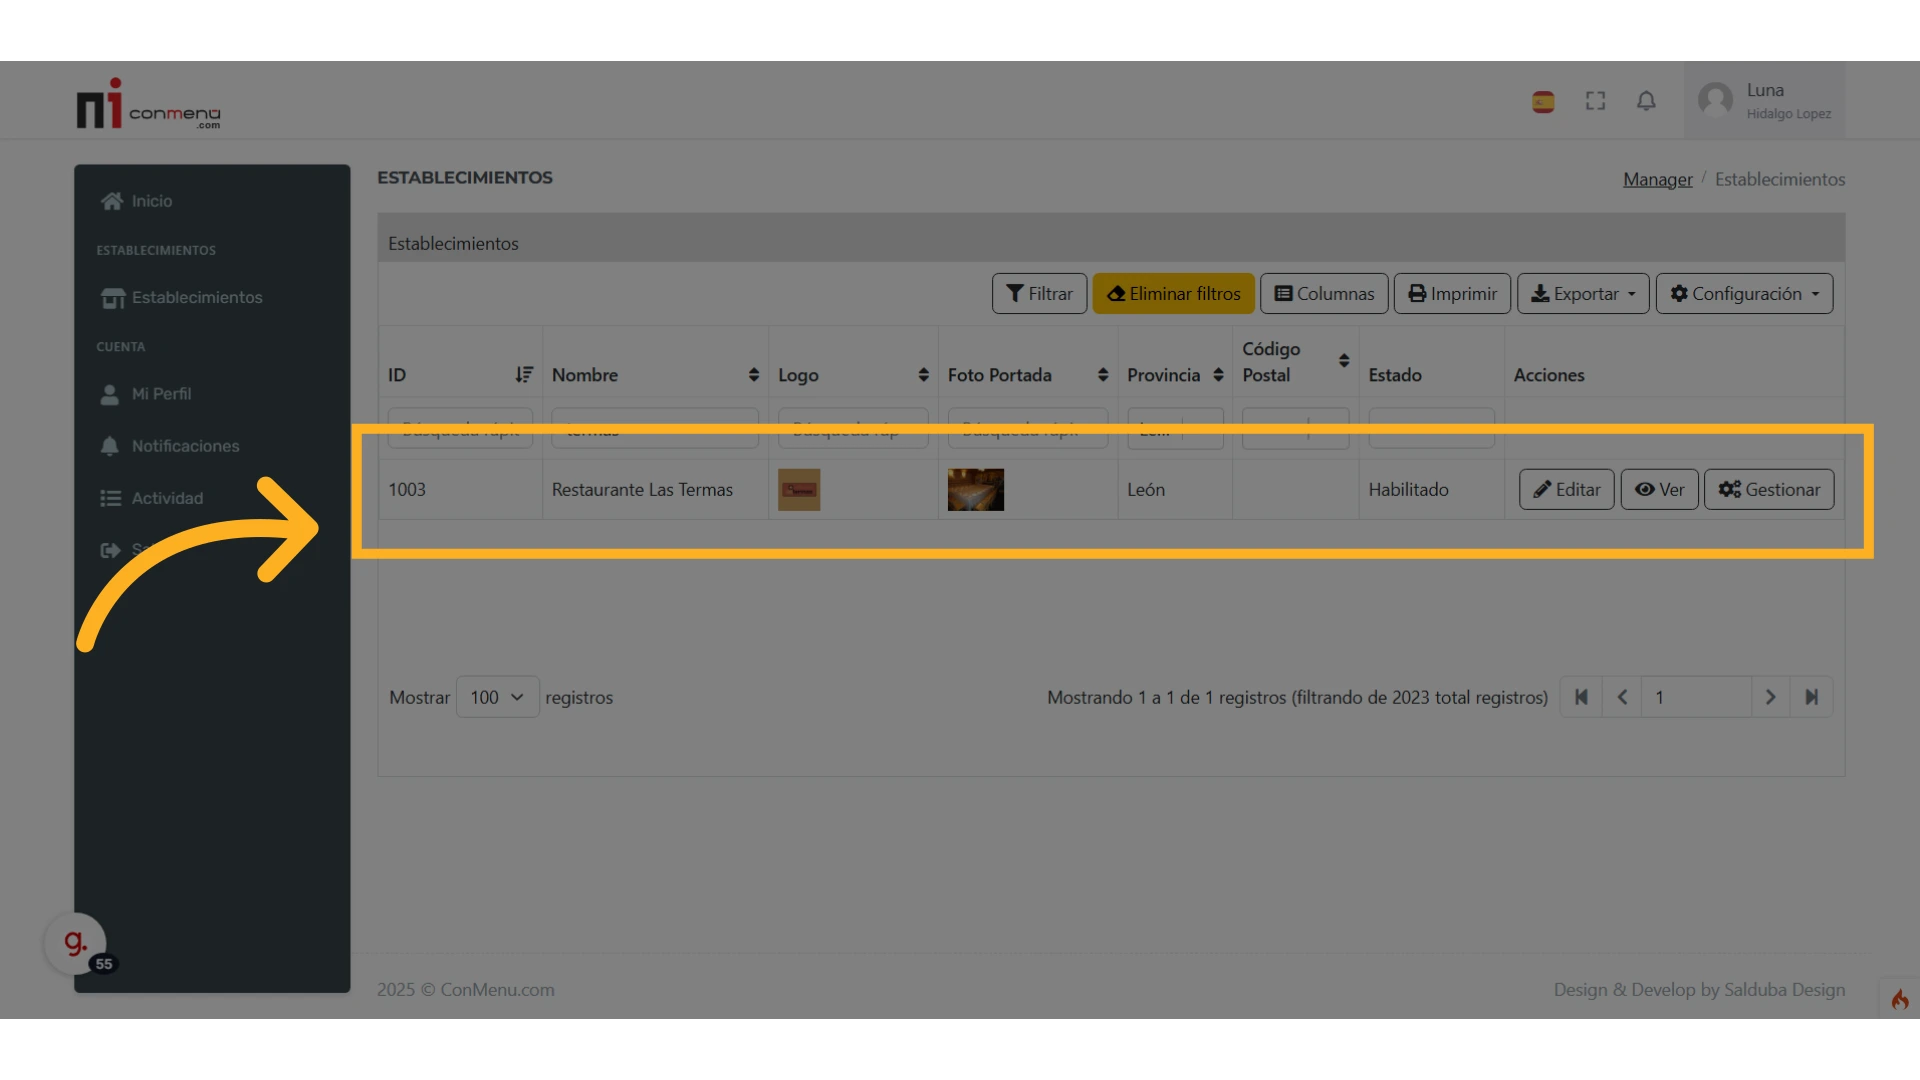
In the venue manager they will see the new venue they’ve been allowed to administer, alongside any others they already had (both those they manage and those they own).
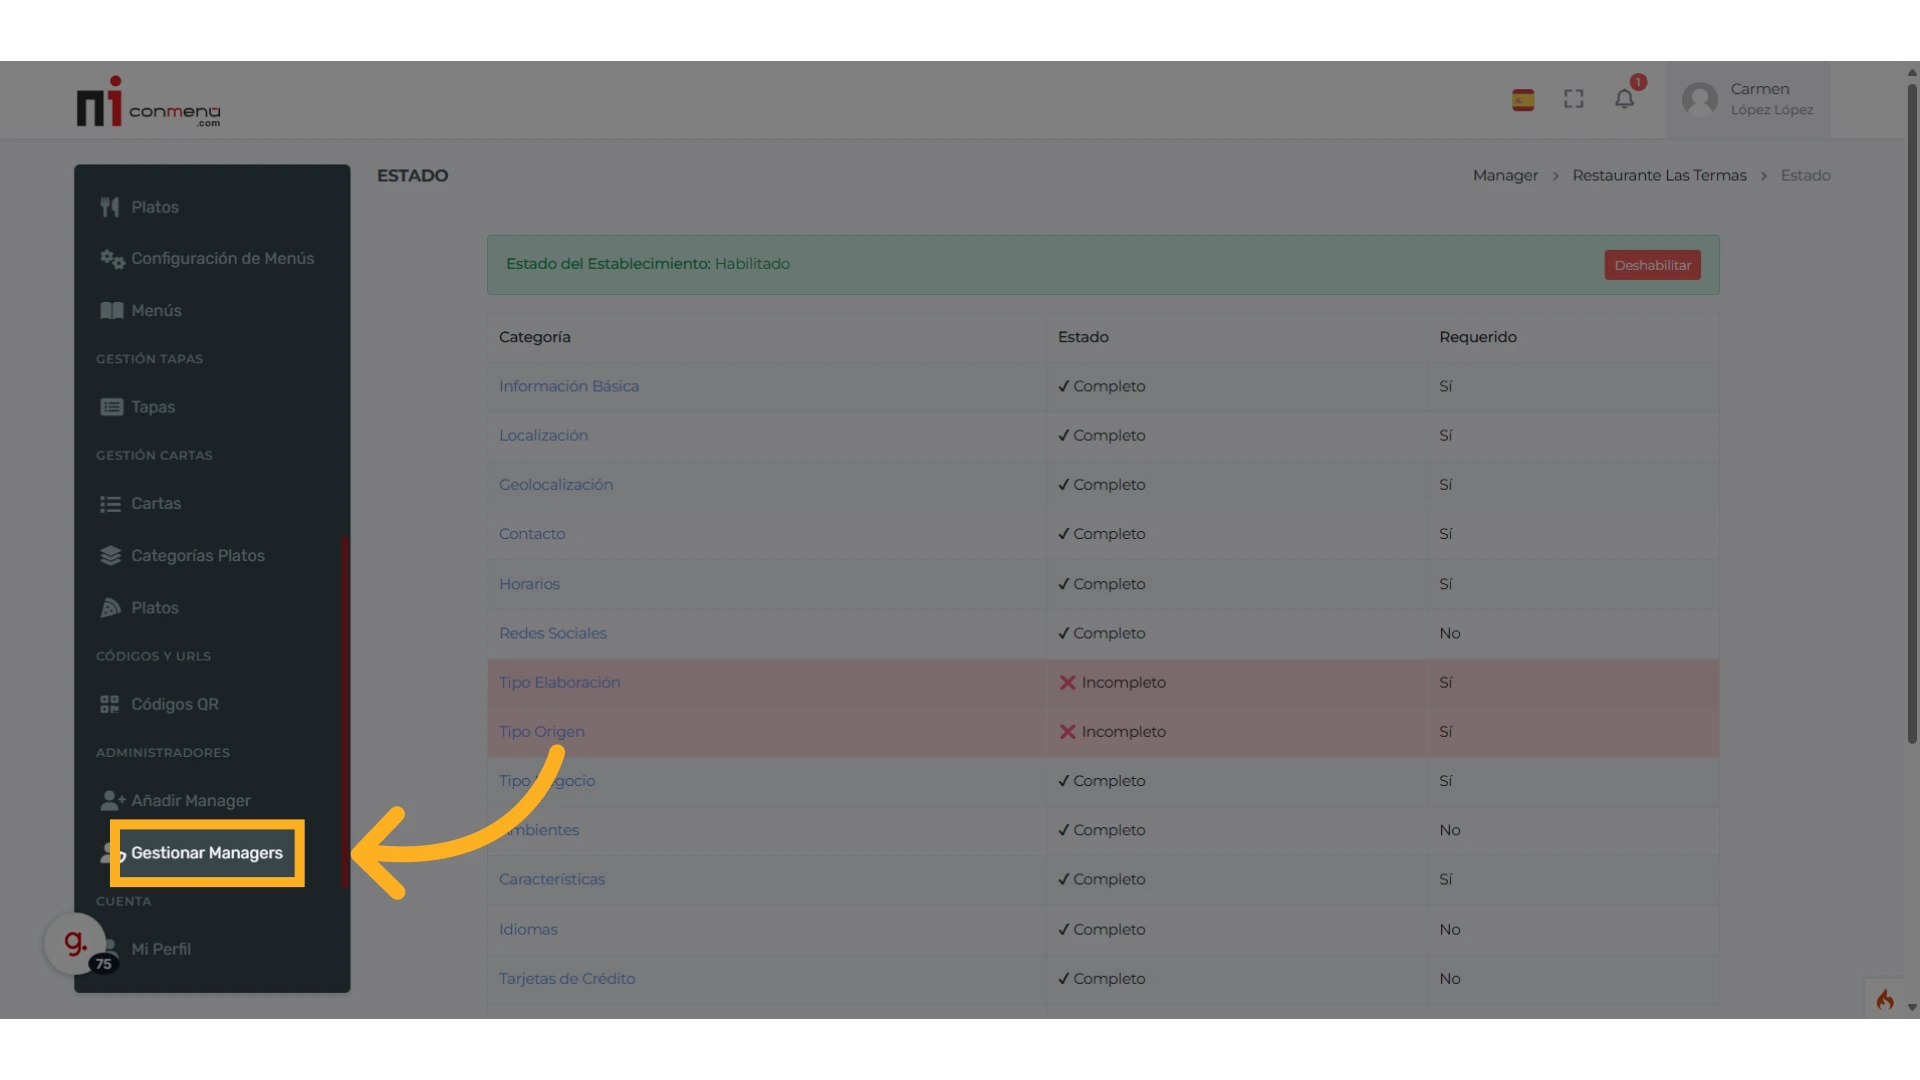
The venue Owner can manage its Managers via the “Manage Managers” option in the Administrators section.
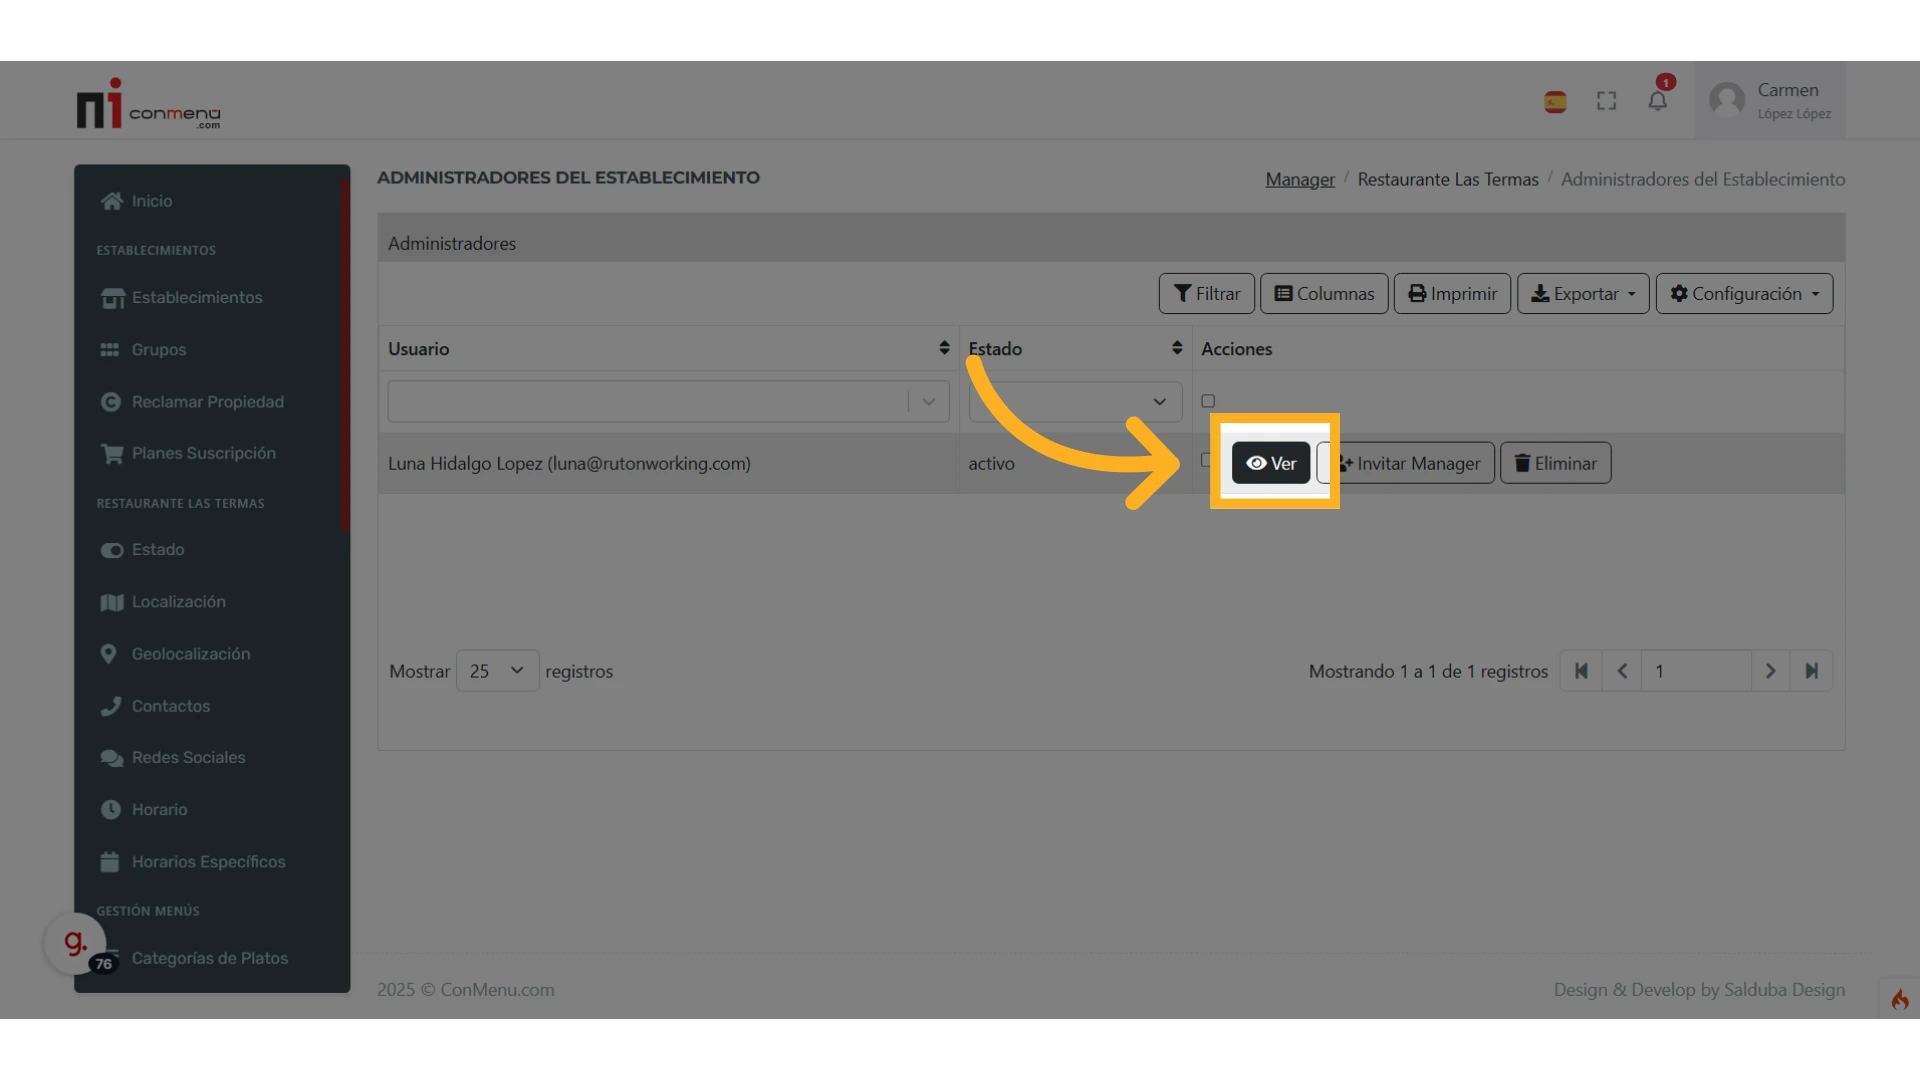
The Manager dashboard shows the list of people you’ve invited to administer the venue and the status of each invitation. Click “View” to see a Manager’s details.
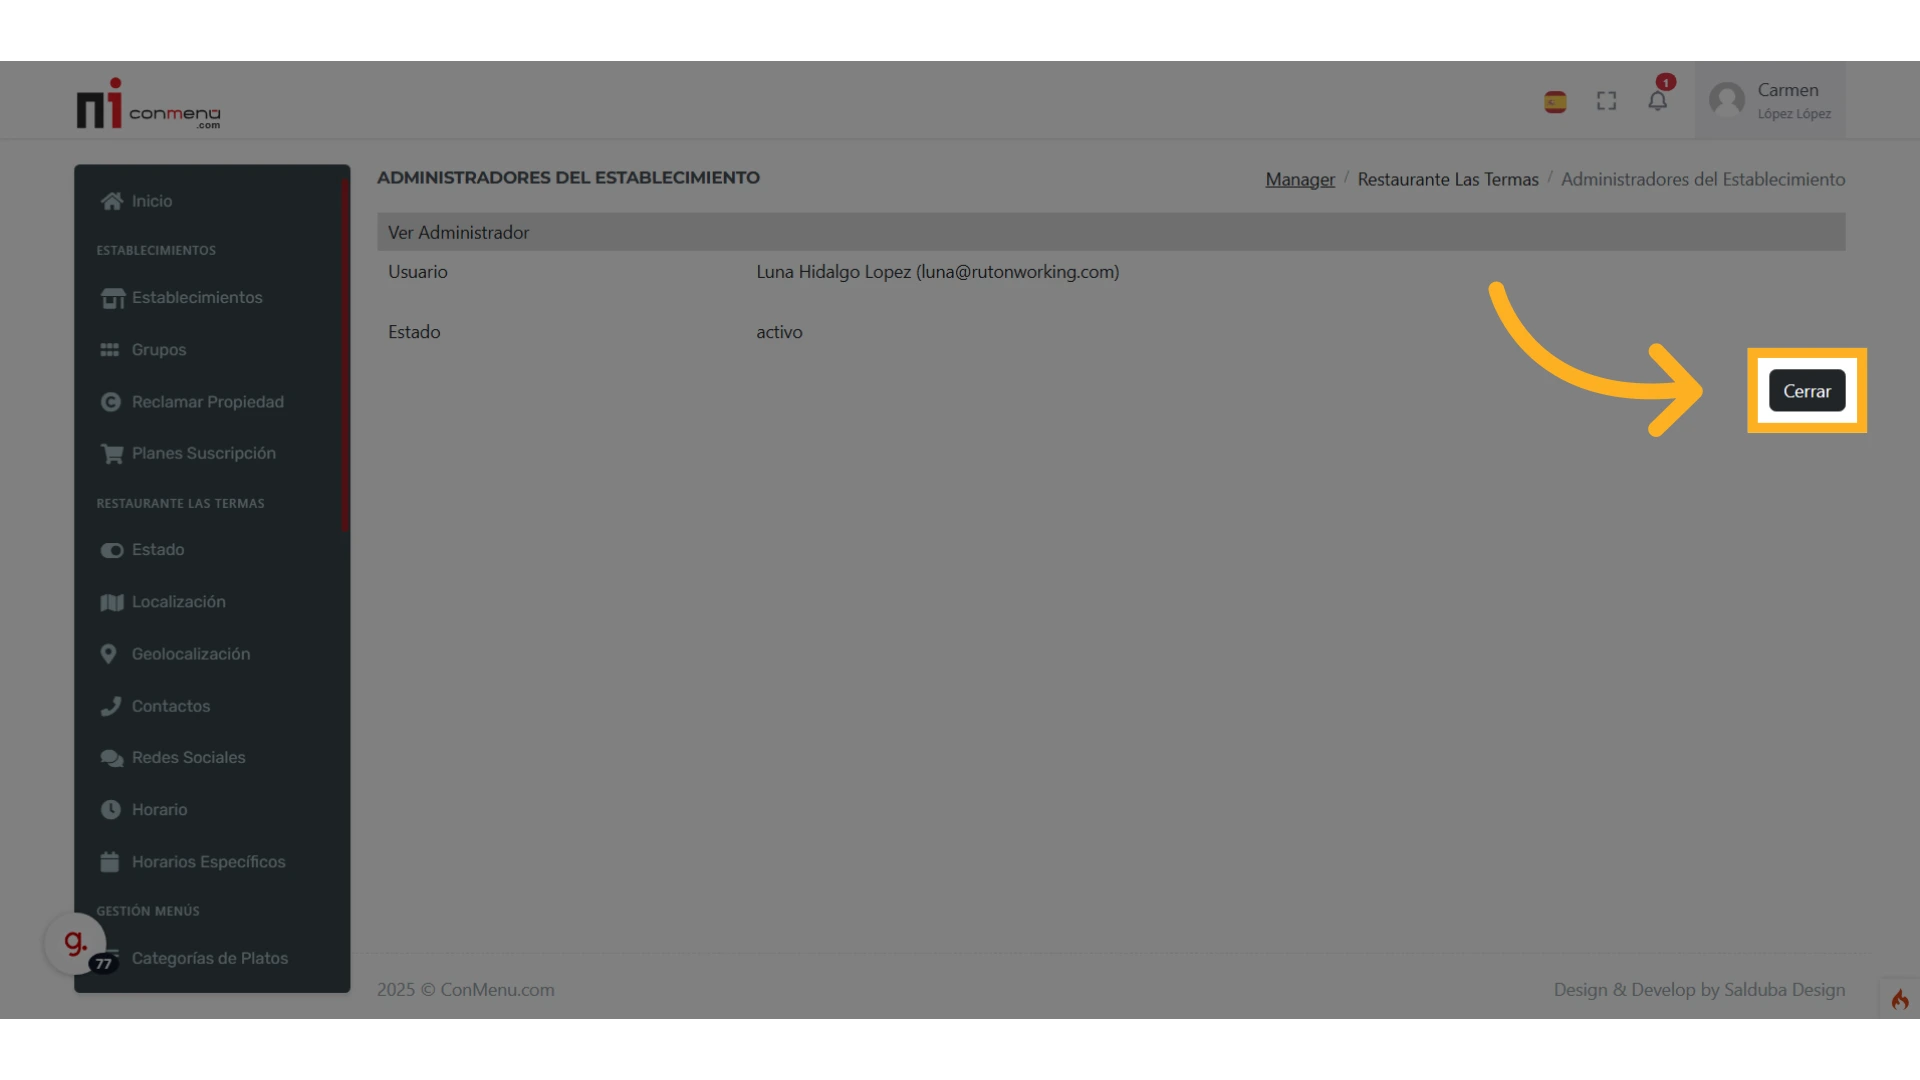
From the Manager info window you can return to the list by clicking “Close”.

You can also remove a Manager from the list at any time by clicking their “Delete” button.

For security you’ll be asked to confirm removing the Manager from the venue’s administration.
That’s how to create and manage Managers (Administrators) for your venues in ConMenu. If you have any questions or run into problems, contact us!